Lease‑Friendly Smarts You Can Set Up This Weekend

Why renters and homeowners appreciate tool‑free upgrades
Picking an ecosystem that won’t paint you into a corner
Quick wins you can install before your coffee cools
Installation playbook: clean, stick, pair, automate
Surface prep and safe removal the right way
Dust, oils, and humidity are the enemies of strong adhesion. Clean gently, let dry fully, then apply firm pressure for the recommended duration. Avoid mounting heavy items on weak paint or textured walls without proper adhesive grades. When removing, pull tabs parallel to the surface to stretch adhesive and release the bond gradually. If something resists, warm it slightly to soften the adhesive. Patience prevents torn paint and restores walls to move‑out ready condition, protecting deposits and your mood at the exact moment boxes suddenly fill every corner.
Network sanity: 2.4 GHz, QR codes, and pairing patience
Dust, oils, and humidity are the enemies of strong adhesion. Clean gently, let dry fully, then apply firm pressure for the recommended duration. Avoid mounting heavy items on weak paint or textured walls without proper adhesive grades. When removing, pull tabs parallel to the surface to stretch adhesive and release the bond gradually. If something resists, warm it slightly to soften the adhesive. Patience prevents torn paint and restores walls to move‑out ready condition, protecting deposits and your mood at the exact moment boxes suddenly fill every corner.
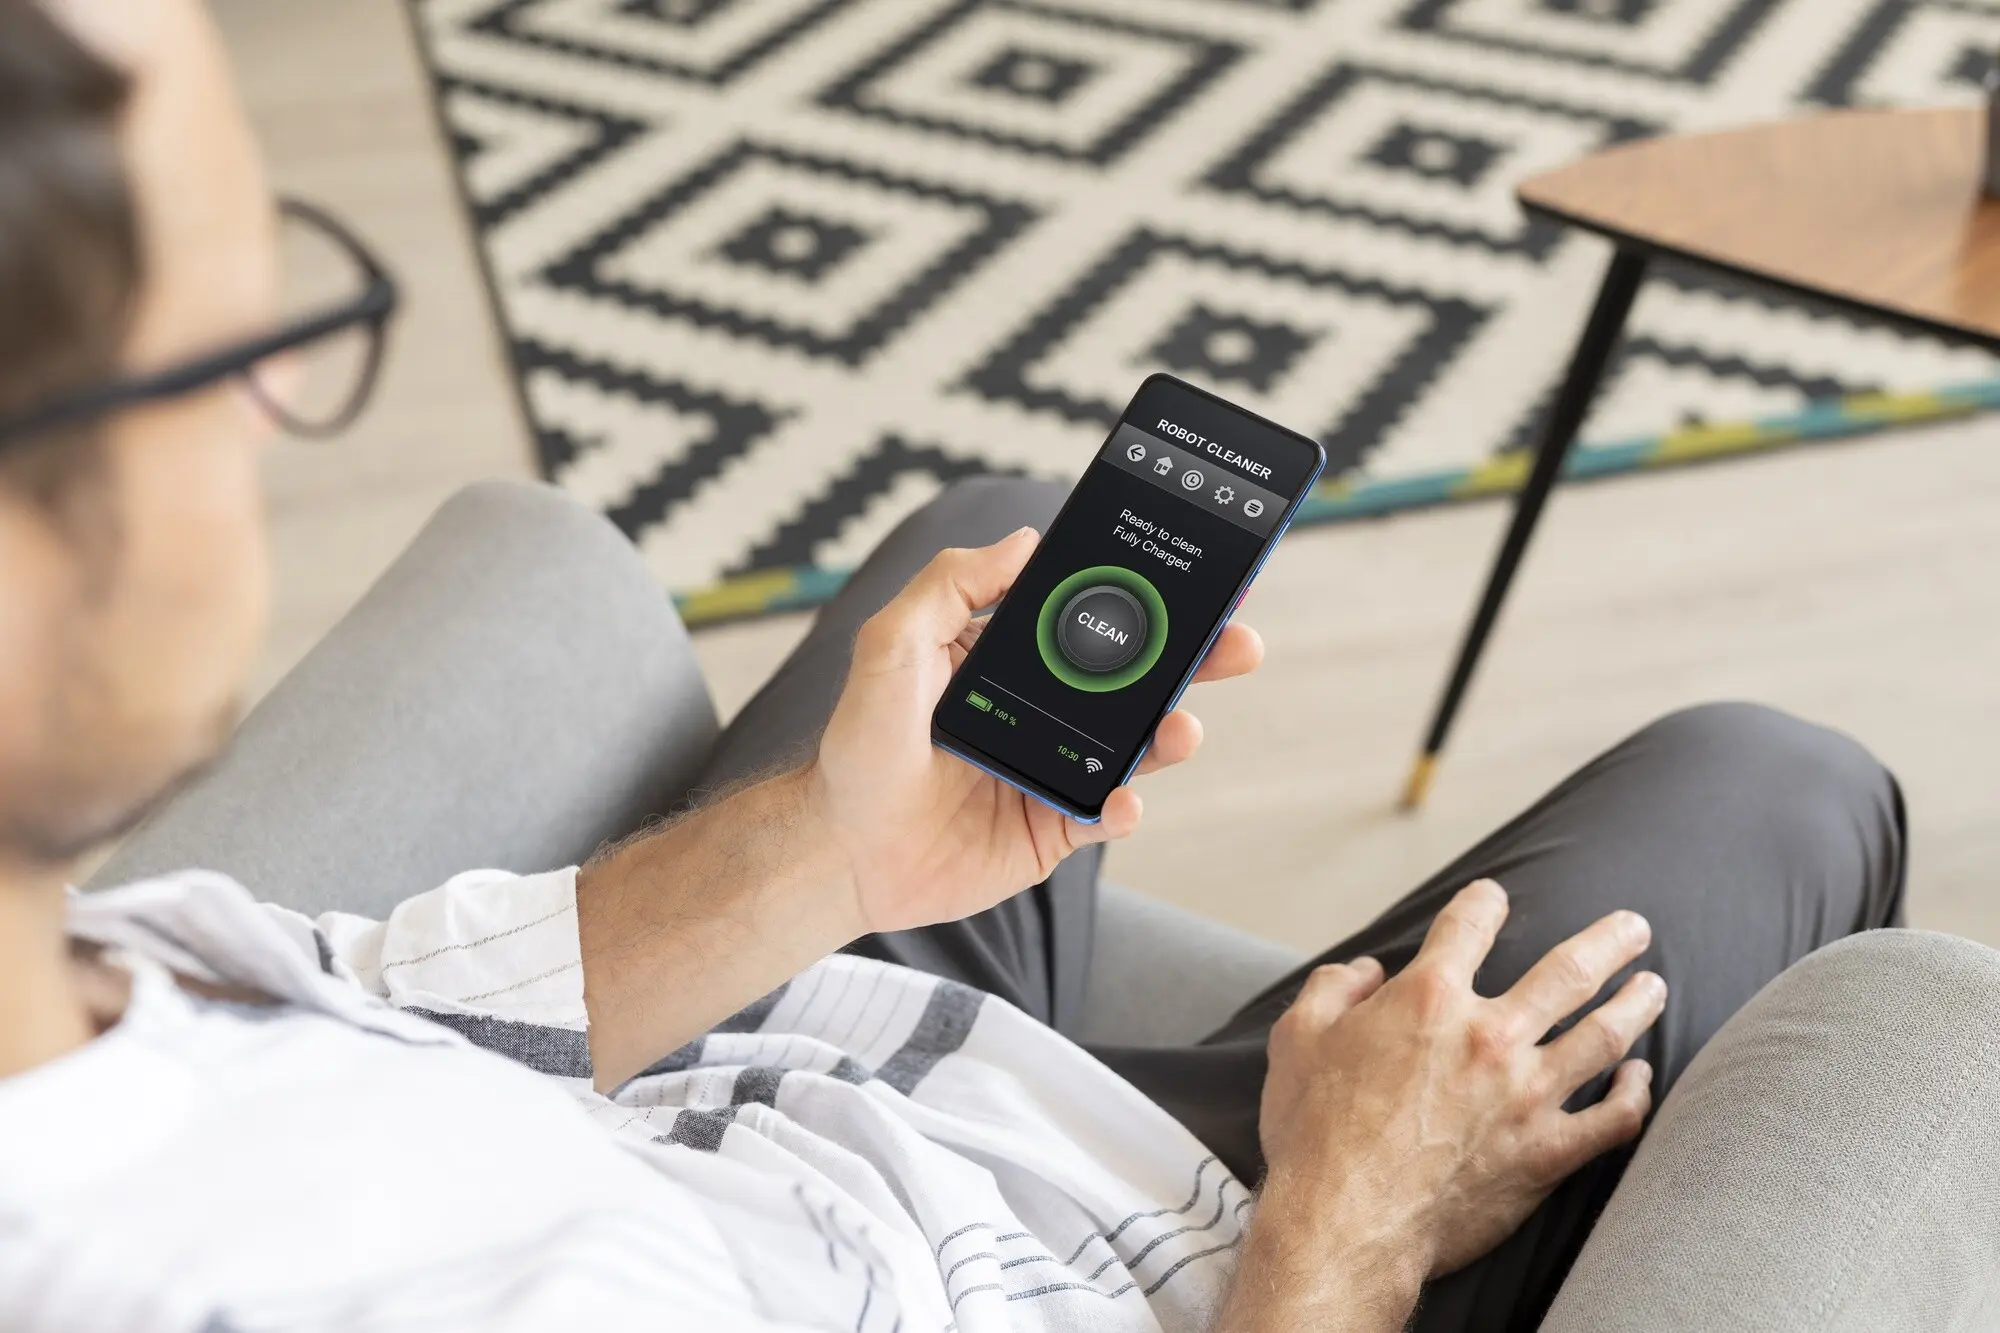
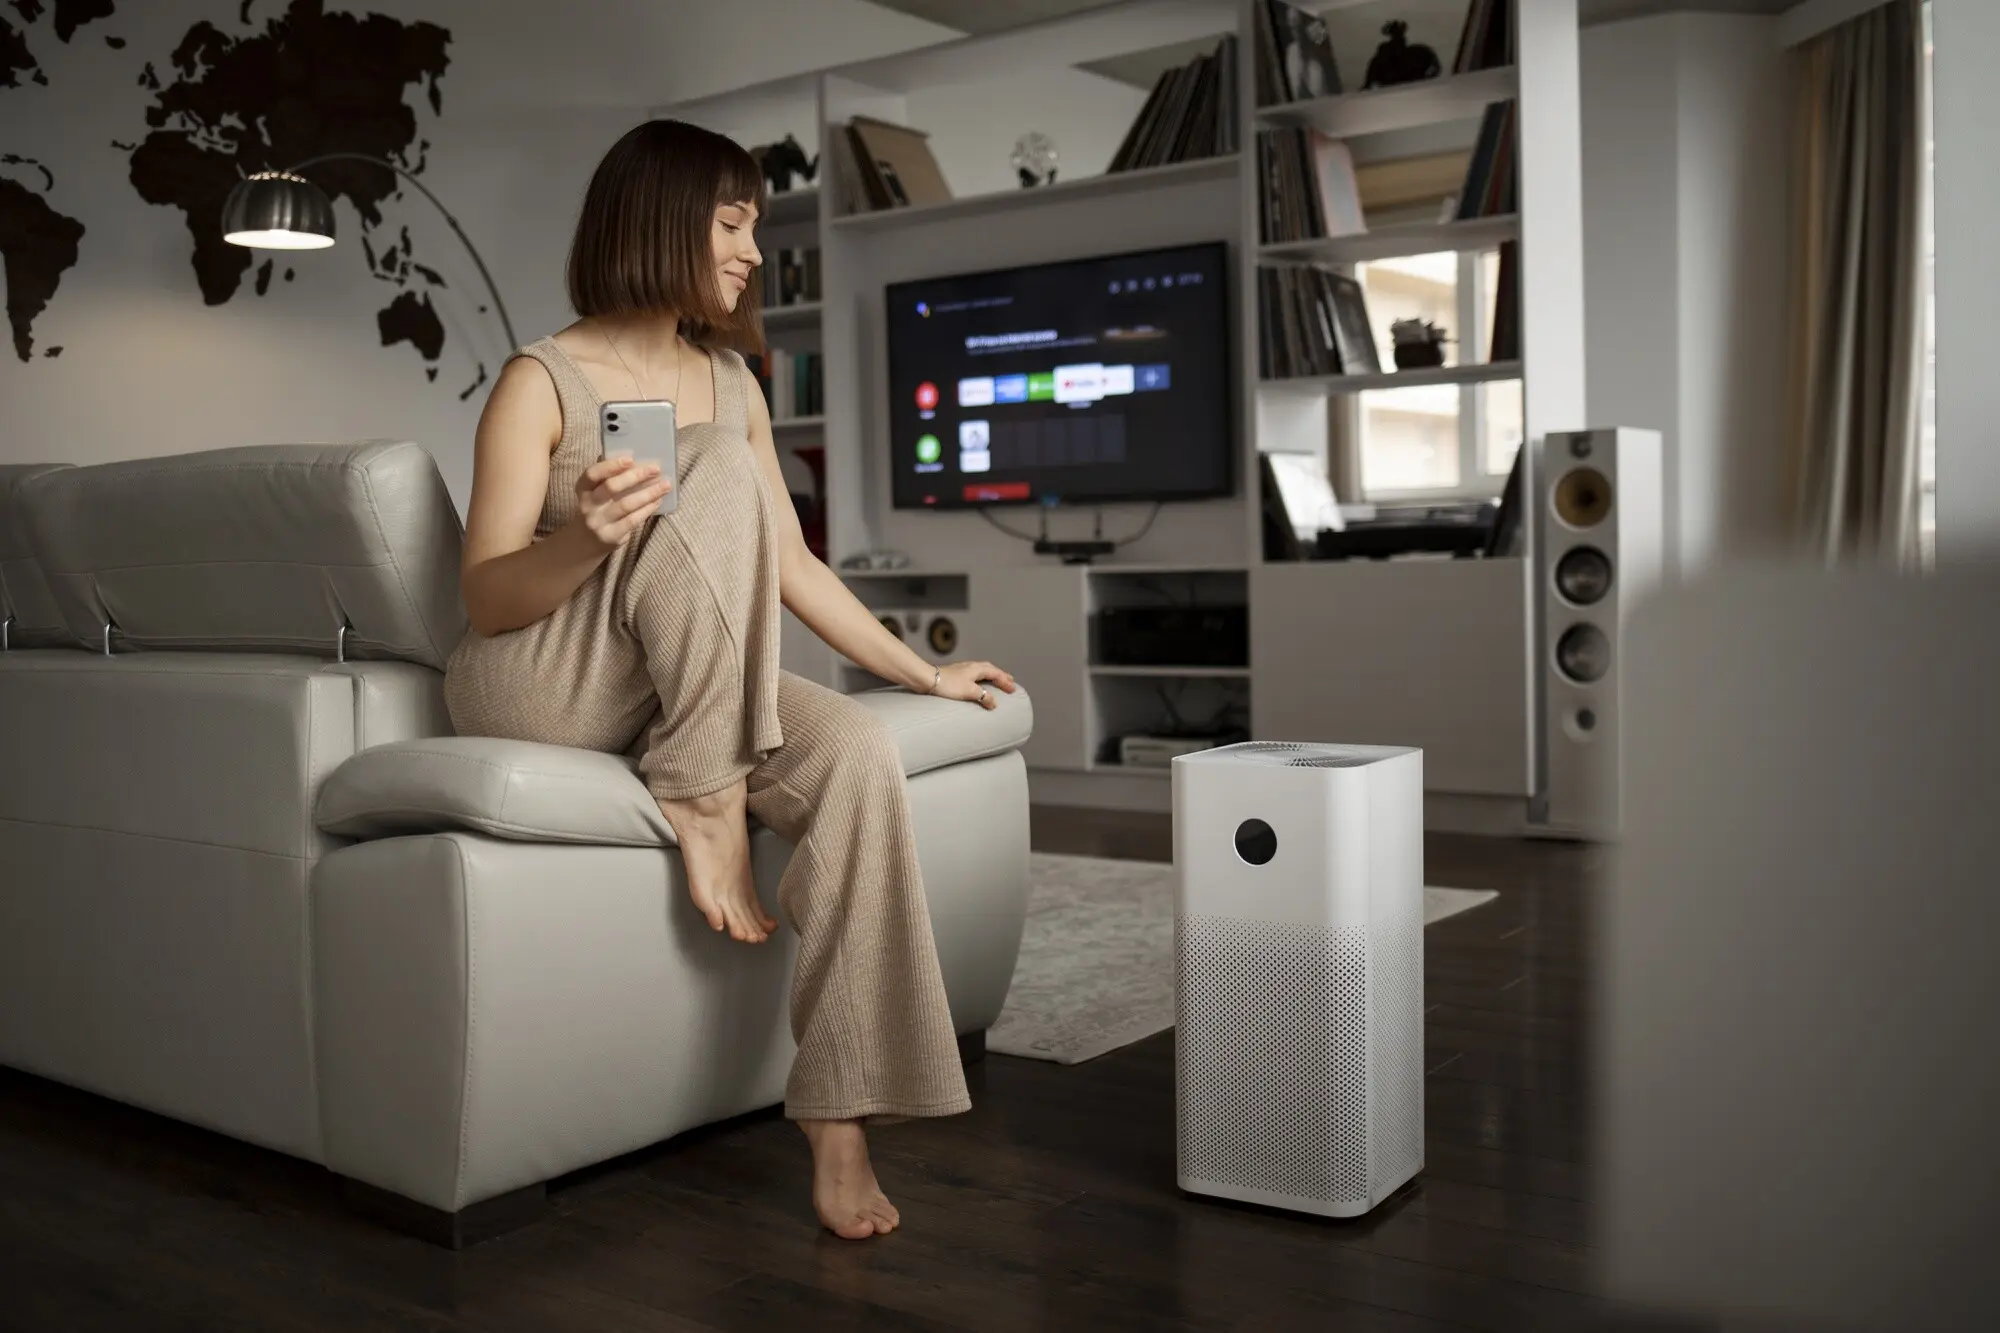
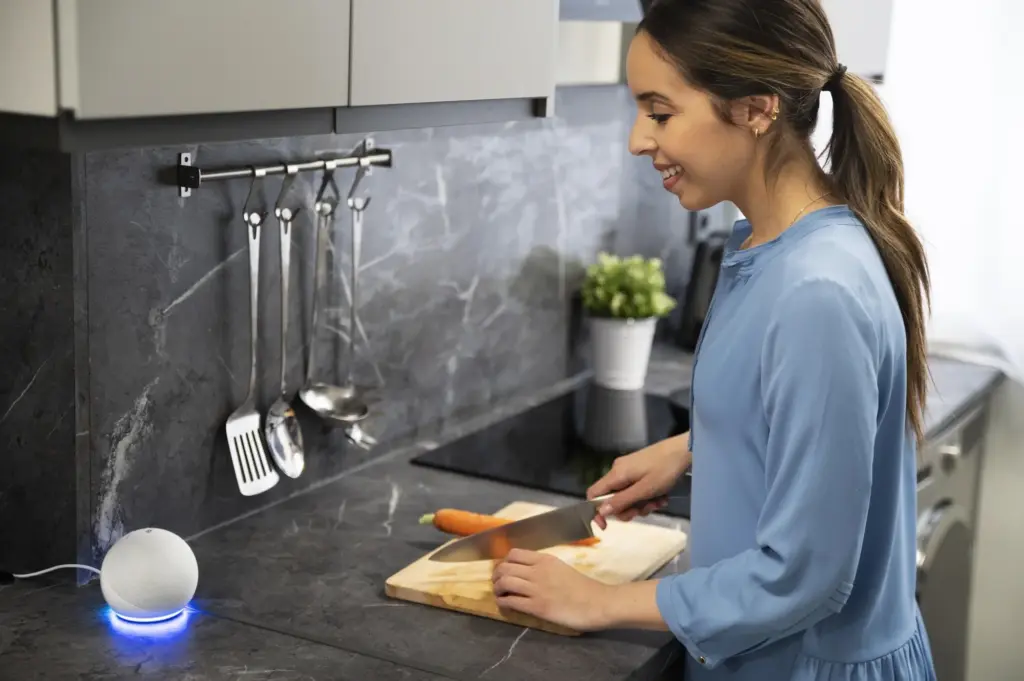
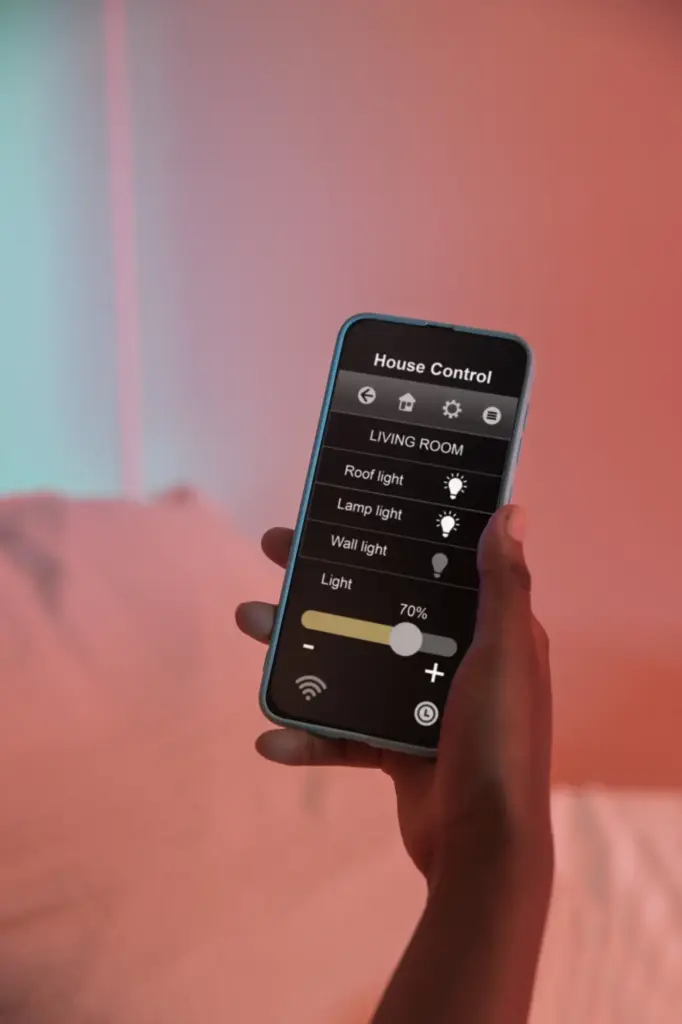
First automations that feel delightful, not complicated
Dust, oils, and humidity are the enemies of strong adhesion. Clean gently, let dry fully, then apply firm pressure for the recommended duration. Avoid mounting heavy items on weak paint or textured walls without proper adhesive grades. When removing, pull tabs parallel to the surface to stretch adhesive and release the bond gradually. If something resists, warm it slightly to soften the adhesive. Patience prevents torn paint and restores walls to move‑out ready condition, protecting deposits and your mood at the exact moment boxes suddenly fill every corner.
Safety, privacy, and landlord happiness
Electrical loads, heaters, and safe smart plugs
Before automating space heaters or kettles, check wattage and plug ratings, and prefer devices with built‑in safety features like tip‑over protection or thermostats. Many general smart plugs are not designed for high loads; choose heavy‑duty models or skip automation entirely. Avoid running high‑draw appliances when away for long periods. Inspect plugs for warmth, keep cords uncoiled to reduce heat buildup, and never hide power strips under rugs. Safety first means comfort doesn’t come at the expense of peace of mind or the goodwill you’ve earned with building management.
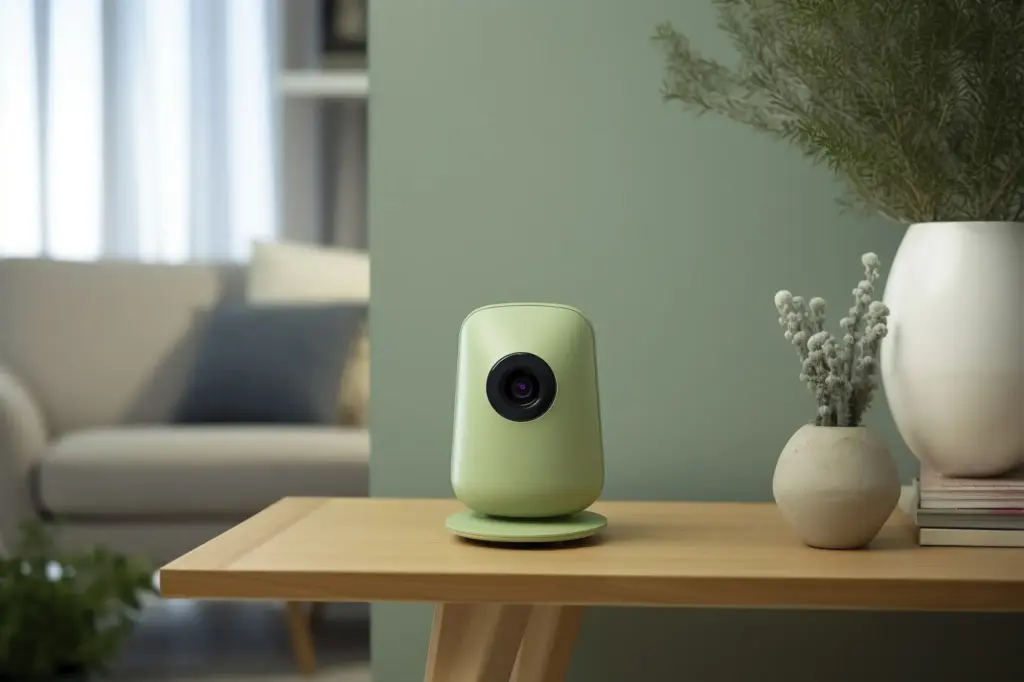
Cameras, microphones, and respectful boundaries
Smart cams can deter trouble, but they should also respect dignity. Disable audio where it’s not needed, avoid filming shared hallways if rules forbid it, and tell guests when monitoring exists. Prefer end‑to‑end encryption or local storage where available, and rotate strong, unique passwords. Schedule privacy shutters to close during quiet hours. If you live with roommates, define camera‑free zones together. Strive for tools that support safety while honoring consent, keeping the home a place of trust rather than a surveillance project that gradually undermines friendships.
Moving out without a trace: a checklist that protects deposits
A month before leaving, schedule a light maintenance session: replace any spent batteries, export automations, and rename devices by room boxes to simplify packing. Remove adhesive hardware slowly, parallel to the surface, and use mild heat if necessary. Wipe walls gently, then photograph results for records. Gather small parts in labeled bags so reinstalling later is effortless. Reset devices to factory defaults only after confirming you have needed exports. This calm, methodical routine turns departure day into a short victory lap rather than a stressful scramble.
Costs, upkeep, and staying organized over time
All Rights Reserved.